
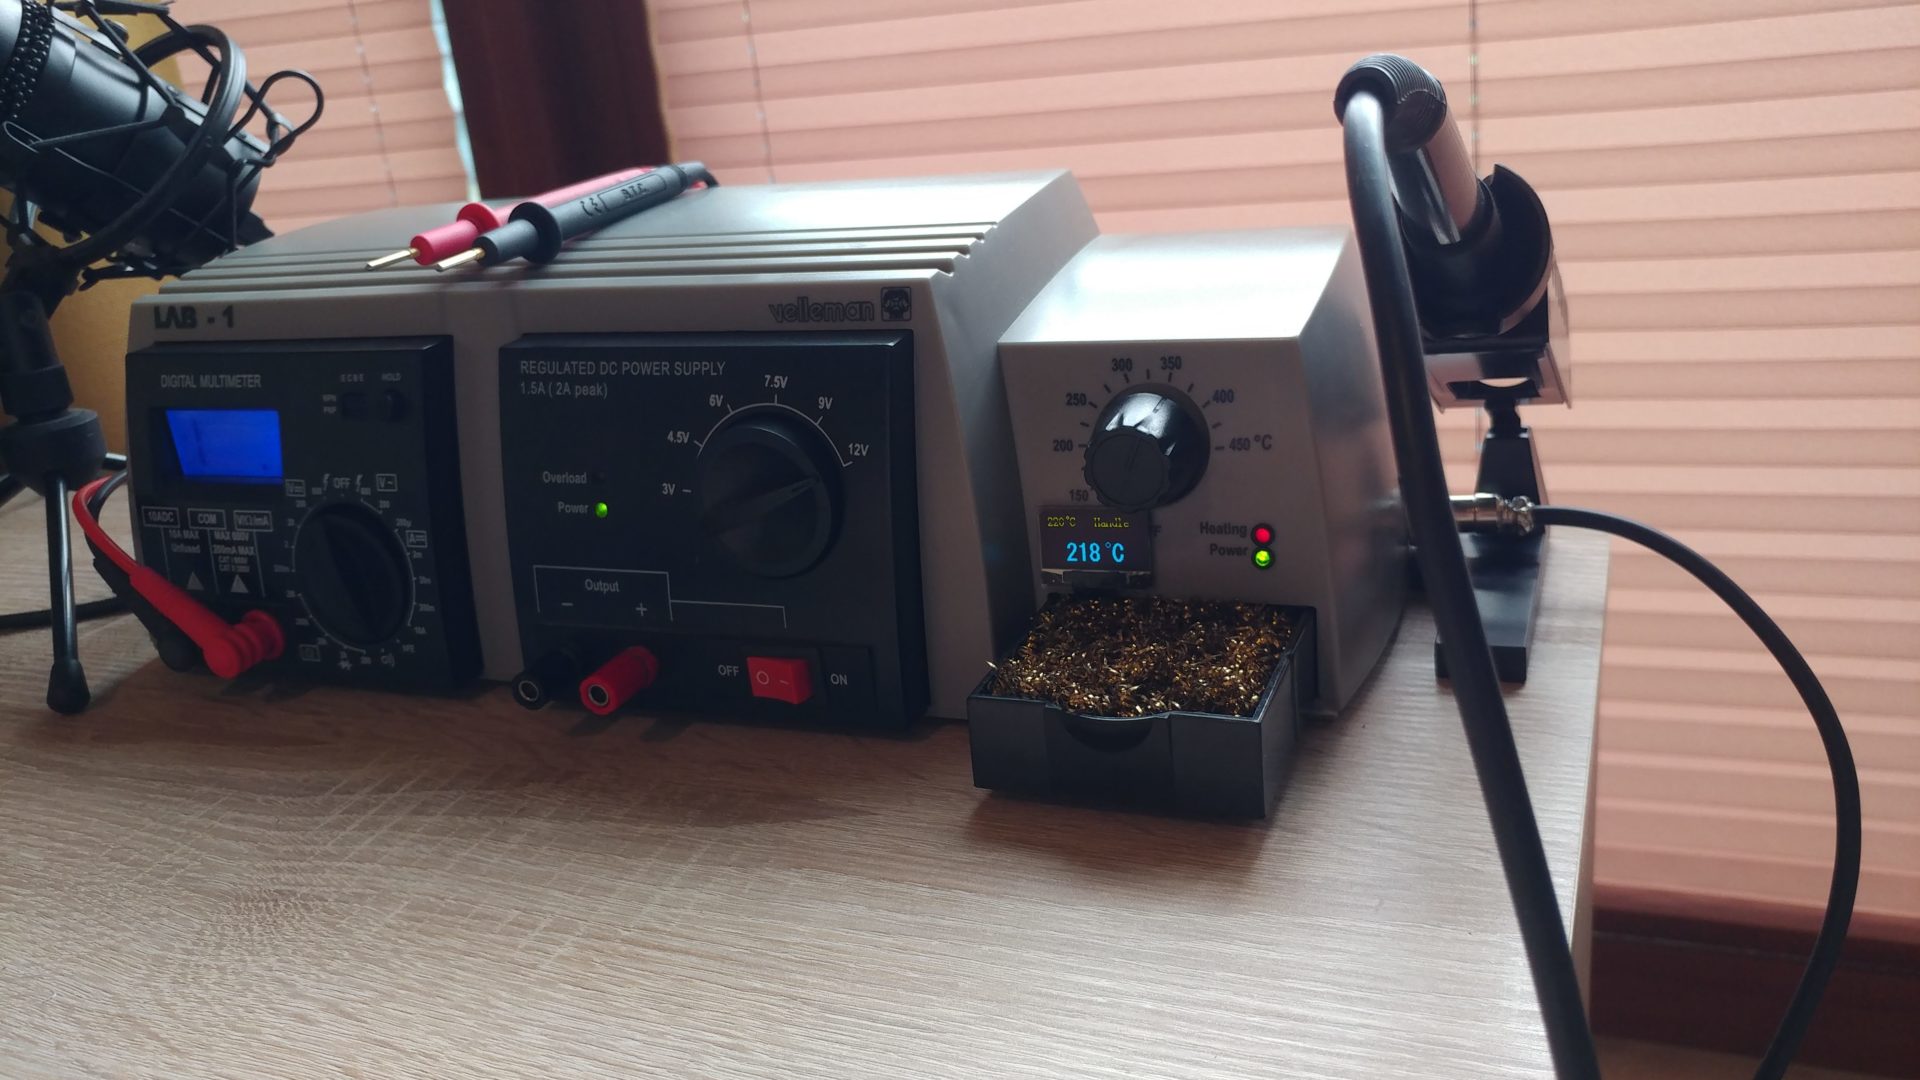
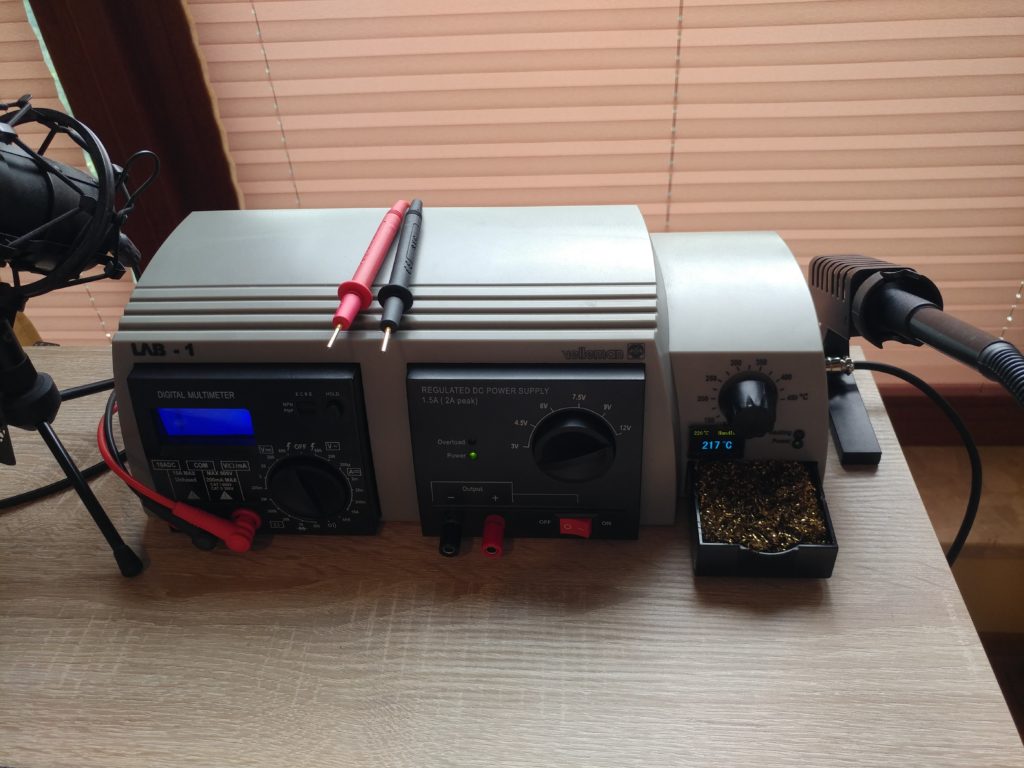
Here is another useful mod for Velleman LAB-1 that will improve it by replacing soldering station with better one! We will use this popular Hakko replacement, T12 Oled soldering station diy kit.
First we need to test the kit with current LAB-1 power supply that is just AC transformer. We will use these 8A 18V AC/DC converter because we need max 24V DC to power up the T12 soldering iron.

Then we will need to put T12 kit together. Let’s start from the handle, solder tilt trigger switches to the handle pcb. I used both given in the kit for better tilt sensitive recognition.

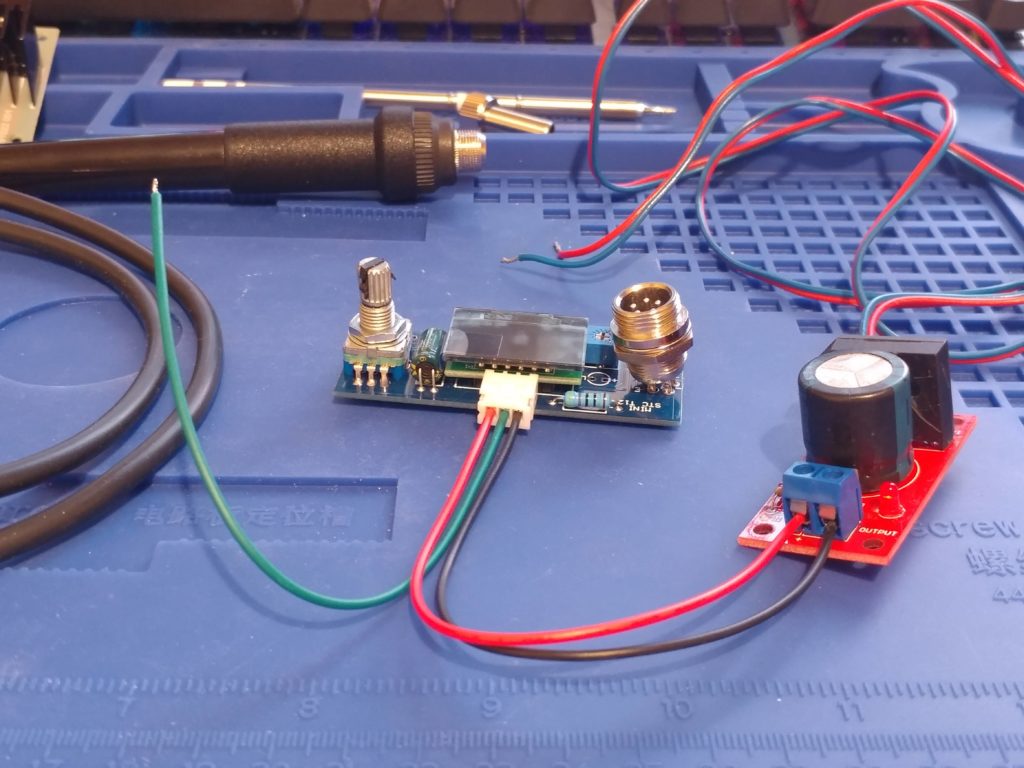
Next we will have to desolder lcd screen and rotary encoder, also I had to desolder power header to get better access to OLED screen.
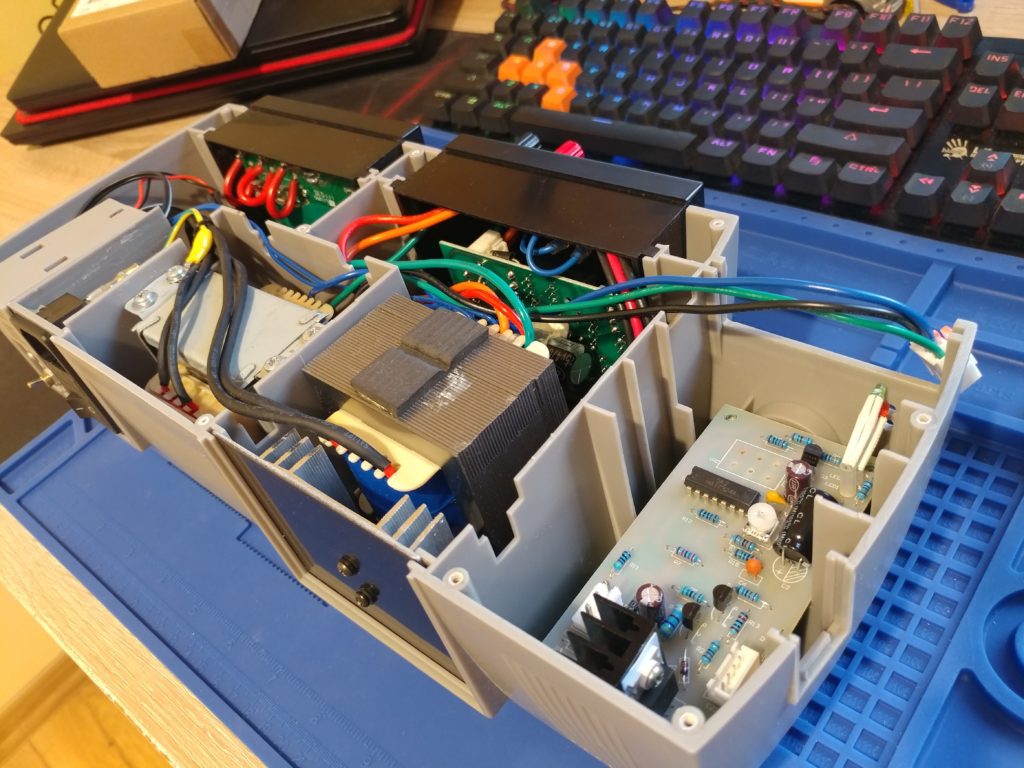
Next remove old pcb and try to fit new ones, fortunately they will fit like a glove! You can use the same screw poles to attach T12 pcb and AC converter. I had to cut some hole in the cover to jam T12 pcb between cover posts. But you don’t need to do that, just switch the pcbs like in the picture below.
I had to cut small piece from laminate and drill a big hole in the middle of it, to fit handle connector in place of an old one.
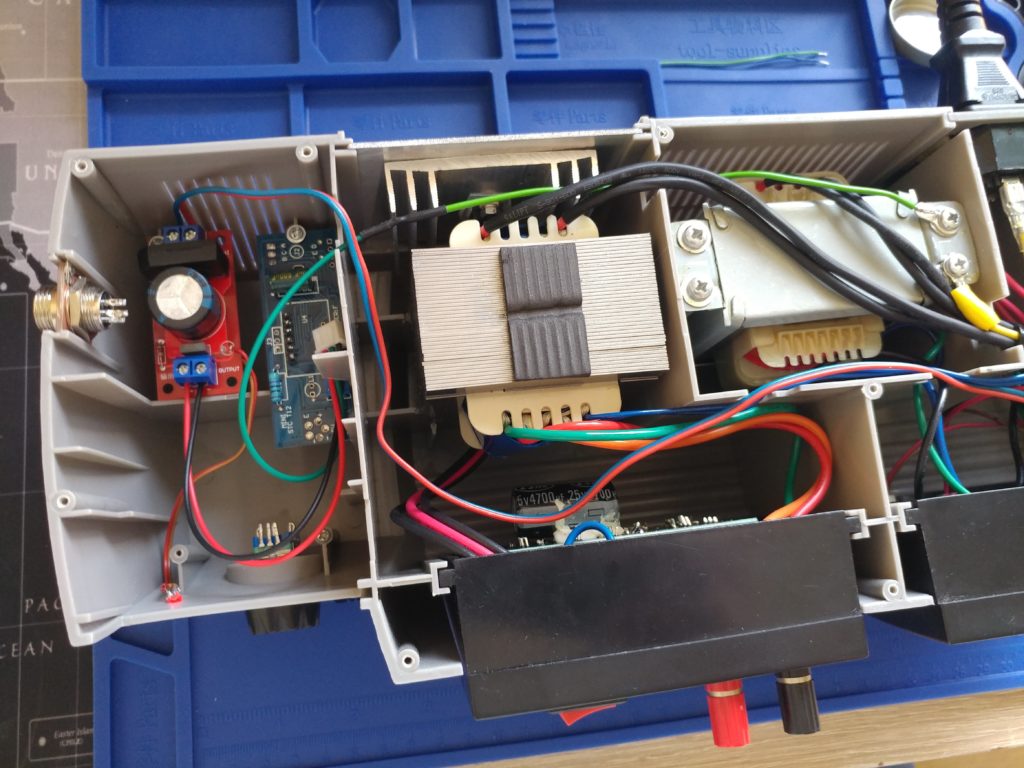
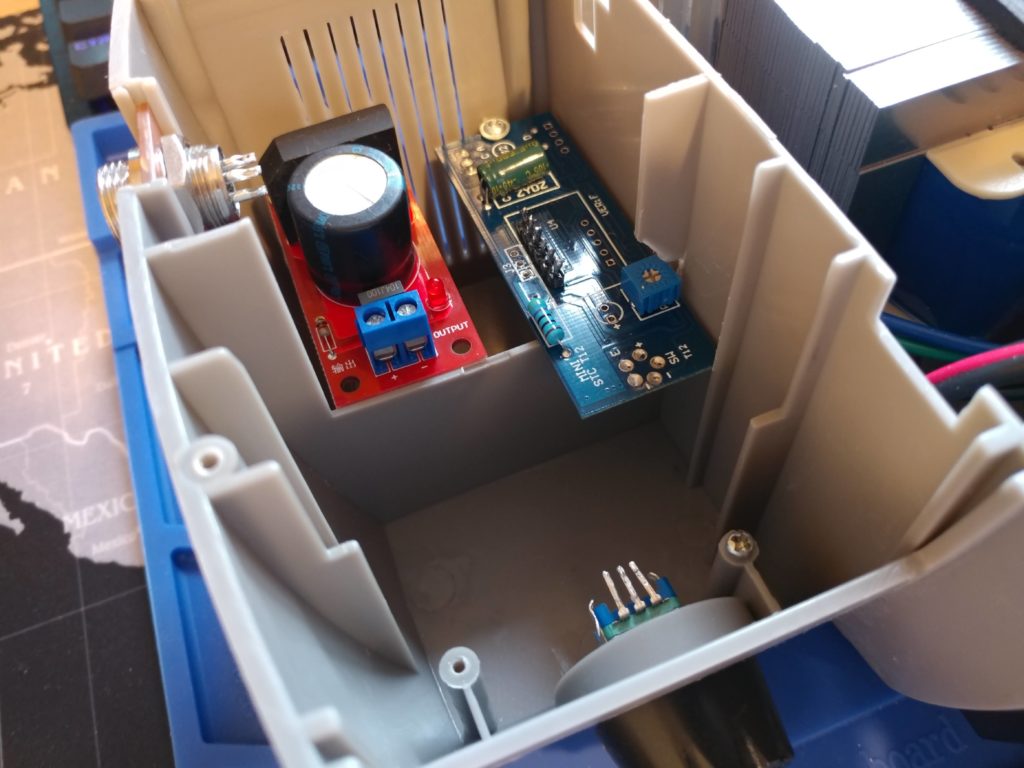
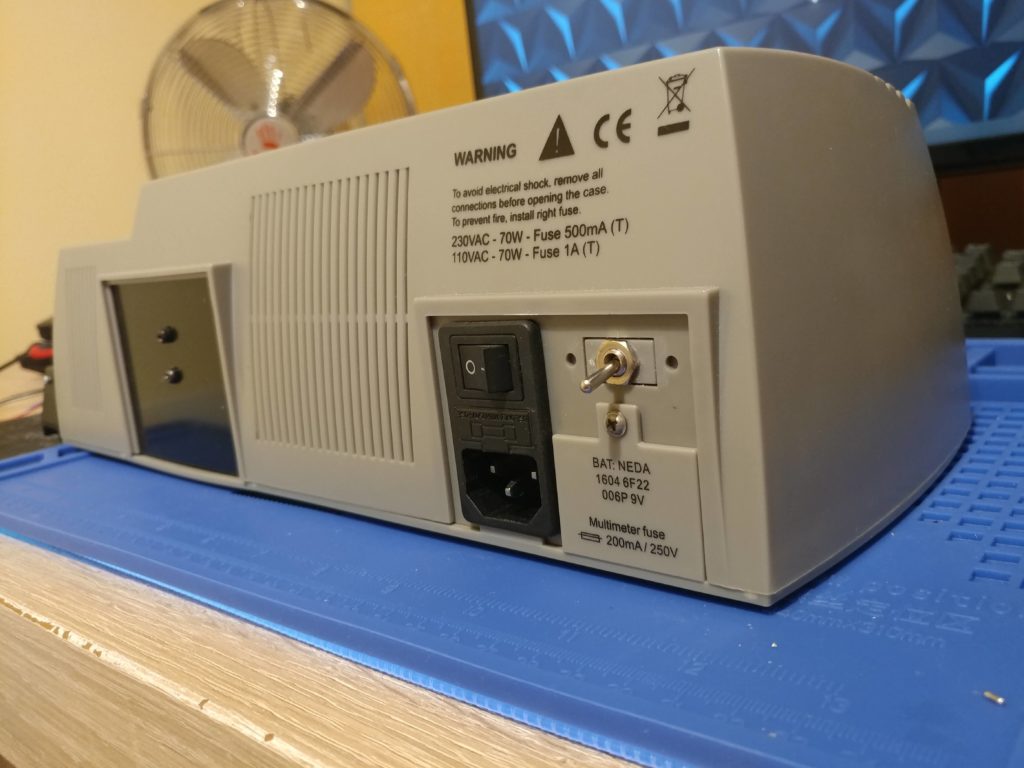
Next we need to connect power from transformer to our new AC converter, and add a pole switch to be able to turn off the soldering station, but you don’t have to do that. Notice the green wire that is connected to the transformer metal chassis, you also don’t have to do this but I connected it to the middle T12 power connector socket that is marked “E” on pcb. This is just for grounding protection.
I attached AC converter wires to the blue and green wires in the transformator connector (you can use header pins to fit in connector), but it will also work with black and blue. Don’t attach to black and green! because it will give you over 25V DC and it’s too much for the T12.
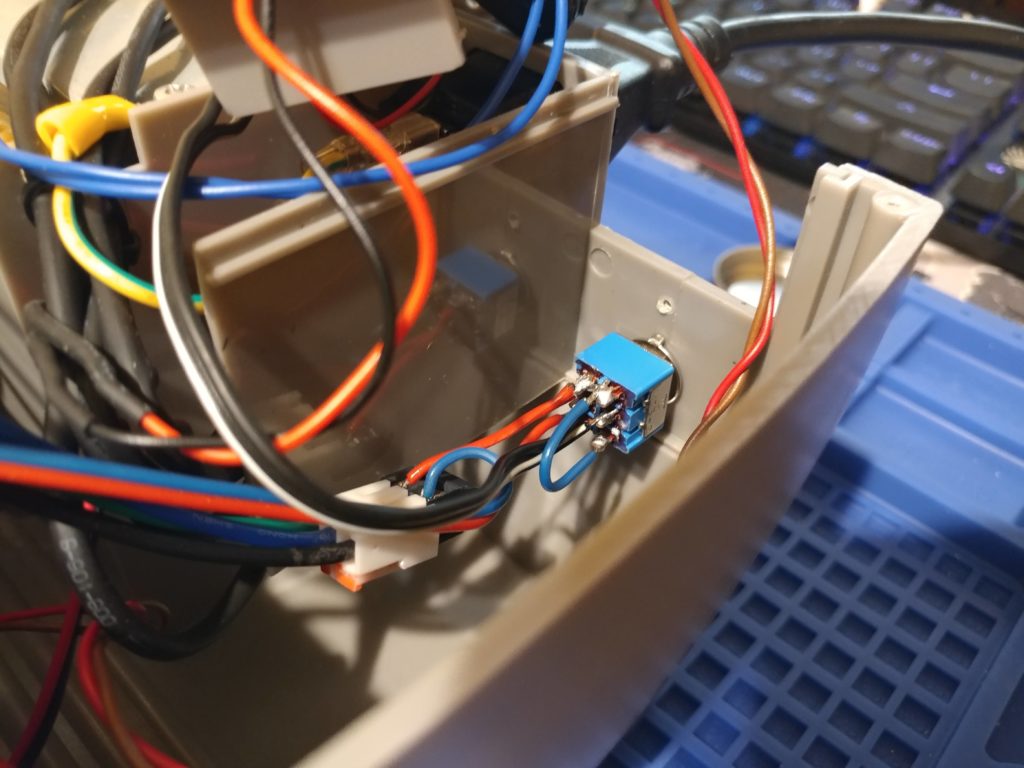
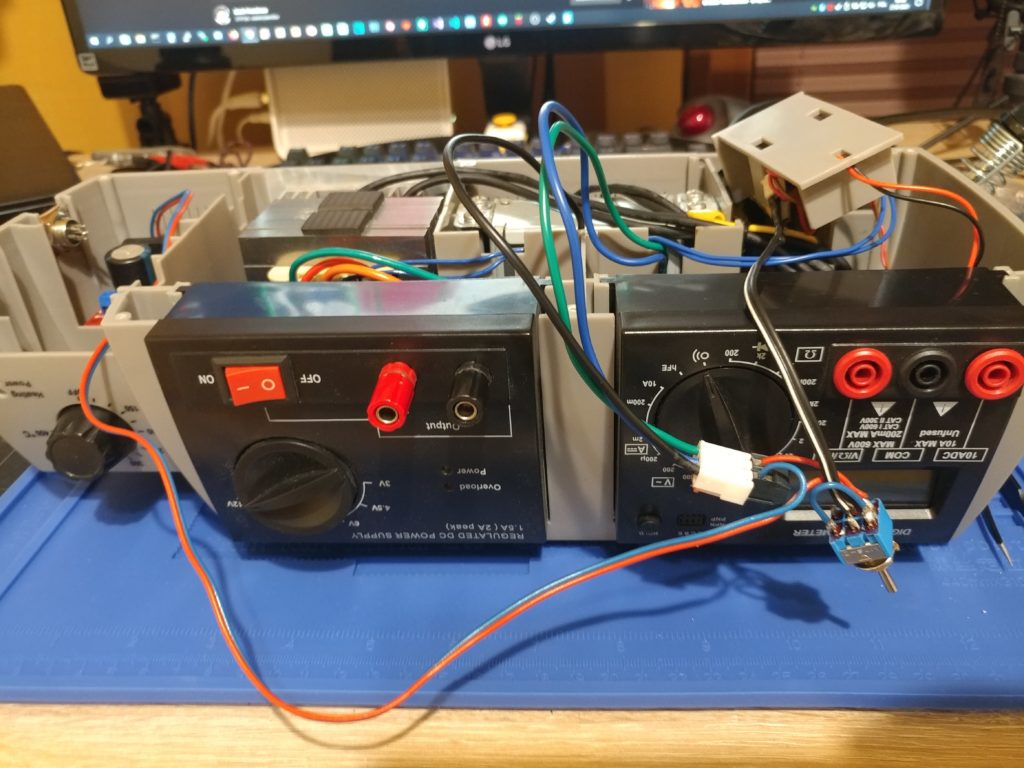
Solder the wires to the switch and drill a hole on the back of the cover. Attach the switch on the back. The switch has two poles so I can also turn off multimeter on the other side.
Now connect everything together, use thick wires to the handle connector because of high current, you can use thin wires to the OLED screen and rotary encoder. Rotary encoder fits nicely in place of an old potentiometer, you can use old knob.

I have attached OLED screen with strong double sided tape to the cover. Also I have soldered power green led from the AC converter and T12 heating red led to the outside of the cover.
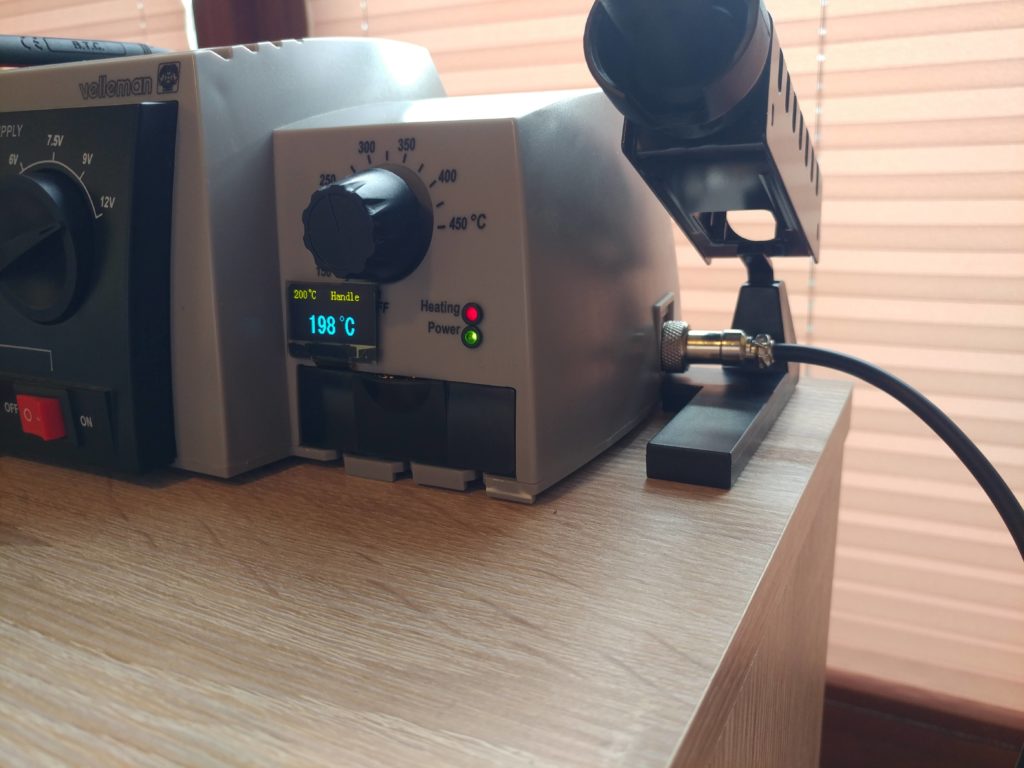
Connect the handle and test everything. There is even enough room to close the cleaning drawer inside!
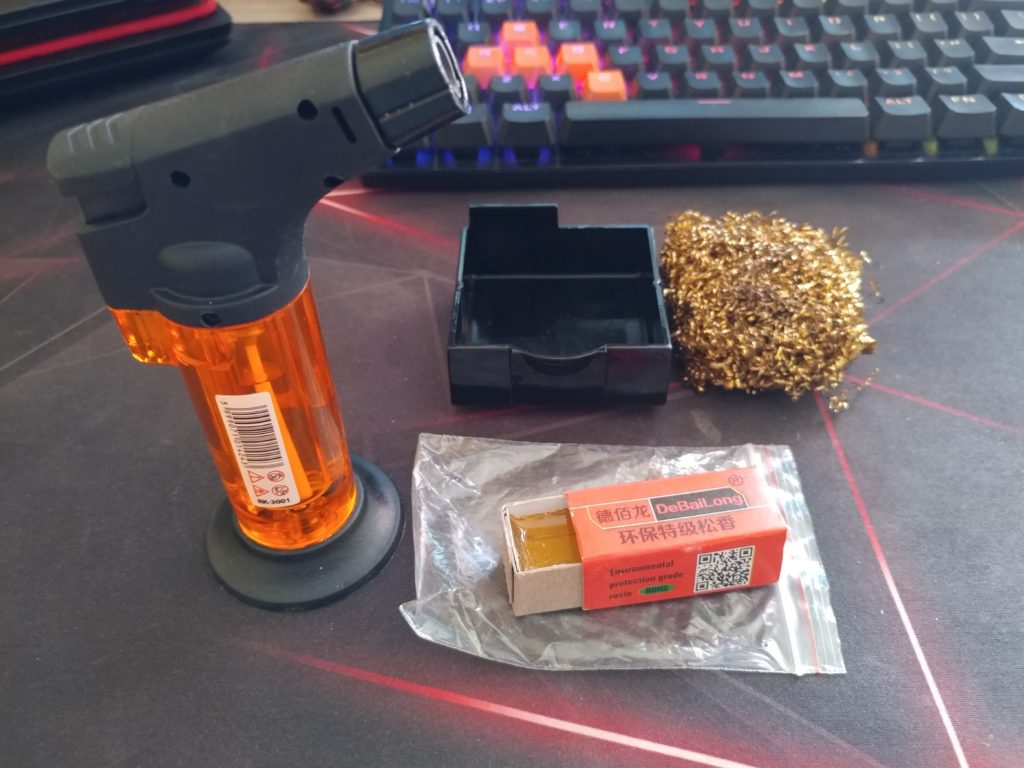
In the T12 kit there was a free soldering tip cleaning flux. I melted it using small gas torch inside cleaning drawer on the bottom and placed metal shavings on top.
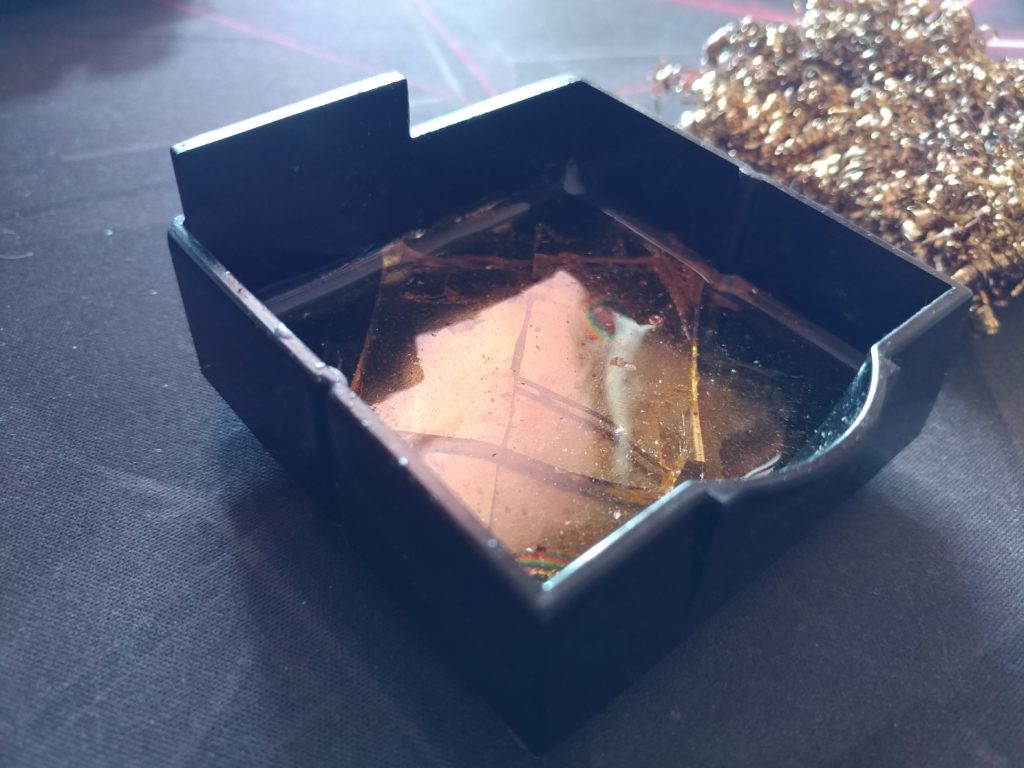
That way I can clean soldering iron tip more efficient! 👍
Here is all the parts used in this project:
T12 OLED kit – https://s.click.aliexpress.com/e/_ANChJU
AC/DC 8A 18V converter – https://s.click.aliexpress.com/e/_9wZZQW