Project Tag: Synth

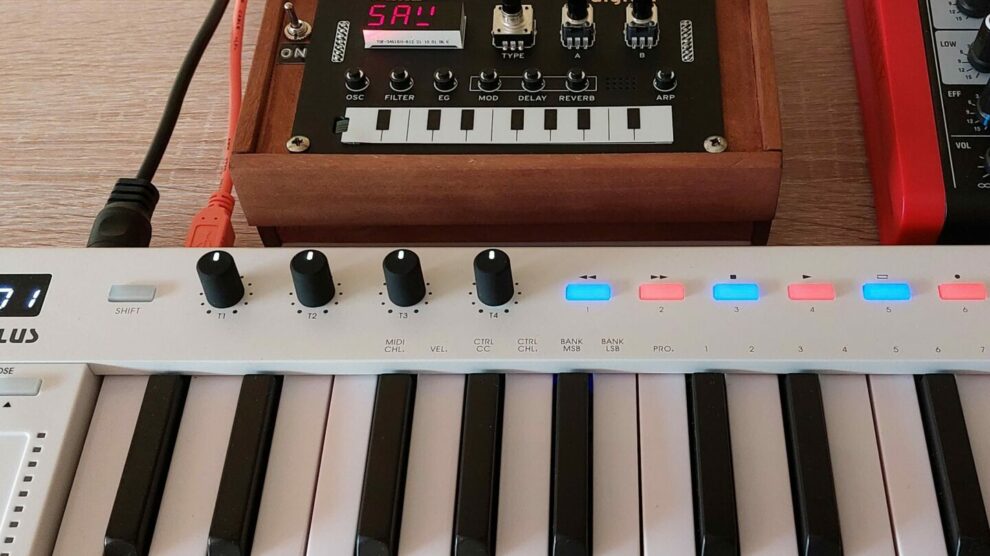
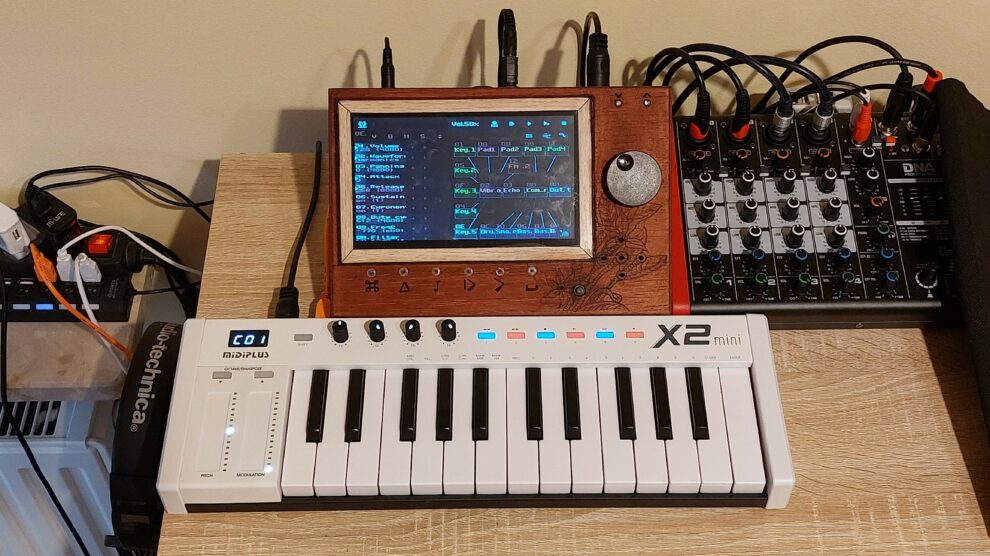
Korg NTS-1 Custom Case Mod

NTS-1 is awesome little digital programmable synthesizer kit made by Korg. Build it, tweak it, connect it; a world of synthesis at your fingertips! Korg It has large potential with added plugins and has powerful digital effect processor. But the self made pcb enclosure design and small SMD audio, sync and Midi connectors are to flimsy and tend to brake a lot. I wanted to have full size 6.35mm audio jacks and Din-5 Midi sockets to be able to use this synth in my setup, so I need to make my own sturdy case. I had some wooden box leftovers

SunVox Standalone Synth

First of all if you don’t know what the hell is SunVox then here is official information from the source: SunVox is a small, fast and powerful modular synthesizer with pattern-based sequencer (tracker). It is a tool for those people who like to compose music wherever they are, whenever they wish. On any device. On any system. And it’s free for most of the systems, except the Android and iOS. https://warmplace.ru/soft/sunvox/ Now you know what SunVox software is. I want this to be standalone SunVox Raspberry Pi synth and be portable and independent from the computer as much as possible, let just

Power Supply with USB CV/Gate out

This is simple project to make Power Supply efficient enough to power up many devices like synth from one source. This means to free up space used by many power bricks for every synth, drum machine or sound effects. Most of the sound gear use 9V, some use 12V and other 5V from USB, so there is a problem with a lot of tangled up cables with different socket types. I have unused laptop power brick that has around 16V and 5A on the output, use couple of power regulators to get down to 12V, 9V and 5V. I used

Gakken SX-150 Mods

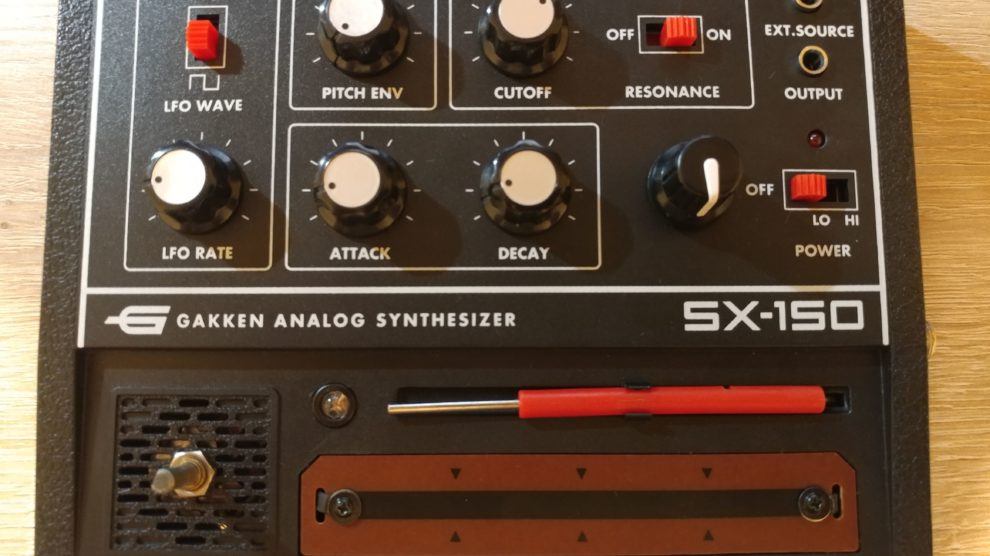
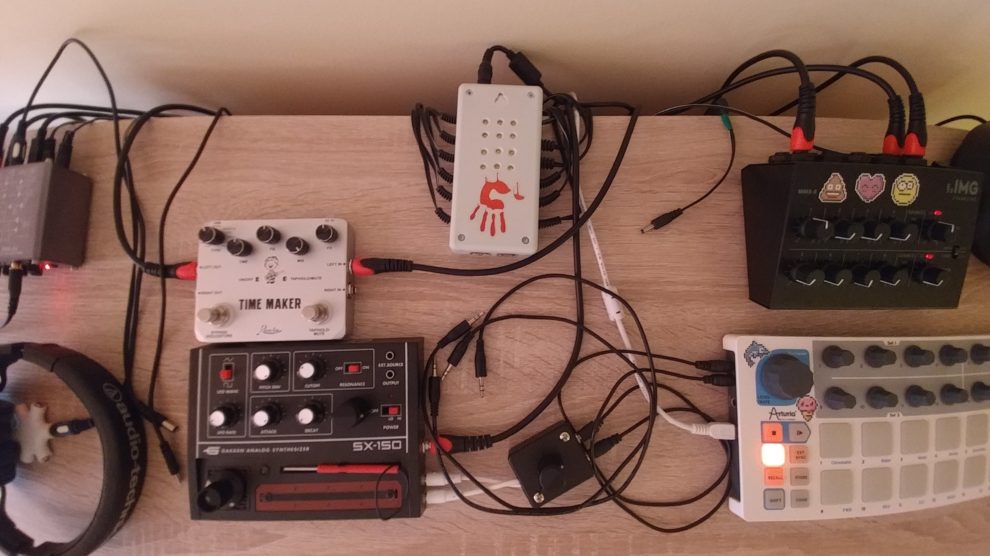
Here are some mods of my Gakken SX-150 analog synth.
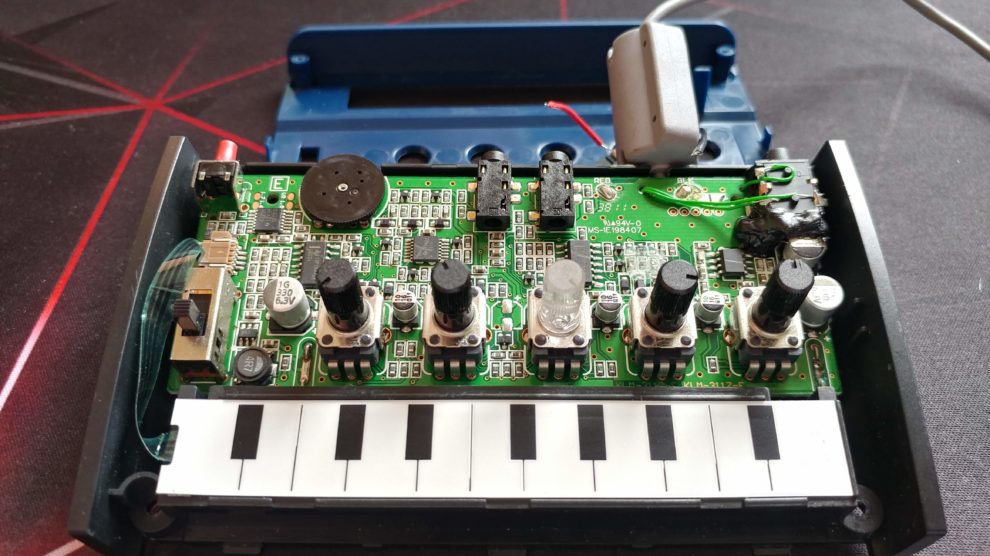
 I have added resonance feedback and drone knobs. CV/Gate inputs and 1/4 inch audio output. LFO blue LED and external power based on 5V power regulator connected to the battery terminals. Remove batteries and unscrew the board. Drill hole for the resonance pot between decay pot and power switch. Install 1kΩ pot and solder leads to the ends of R39 smd resistor on the PCB. 5V power regulator is added on the other side of the PCB, it’s middle (GND) and right (OUT) legs fits to the battery wire holes.

Copyright © 2024 Caspius Labs | Audioman by Catch Themes