
A thermoelectric generator is a device that converts heat directly into electricity using a physical phenomenon called the Seebeck effect: a temperature difference across two different materials produces electricity. When one side of the device is hot and the other side is cold, electrons start moving creating a voltage.
My first version was based on one TEC Peltier module generates only 1.3V which is not enough to power Step-Up boost converter to needed 5V to charge phone or anything else.
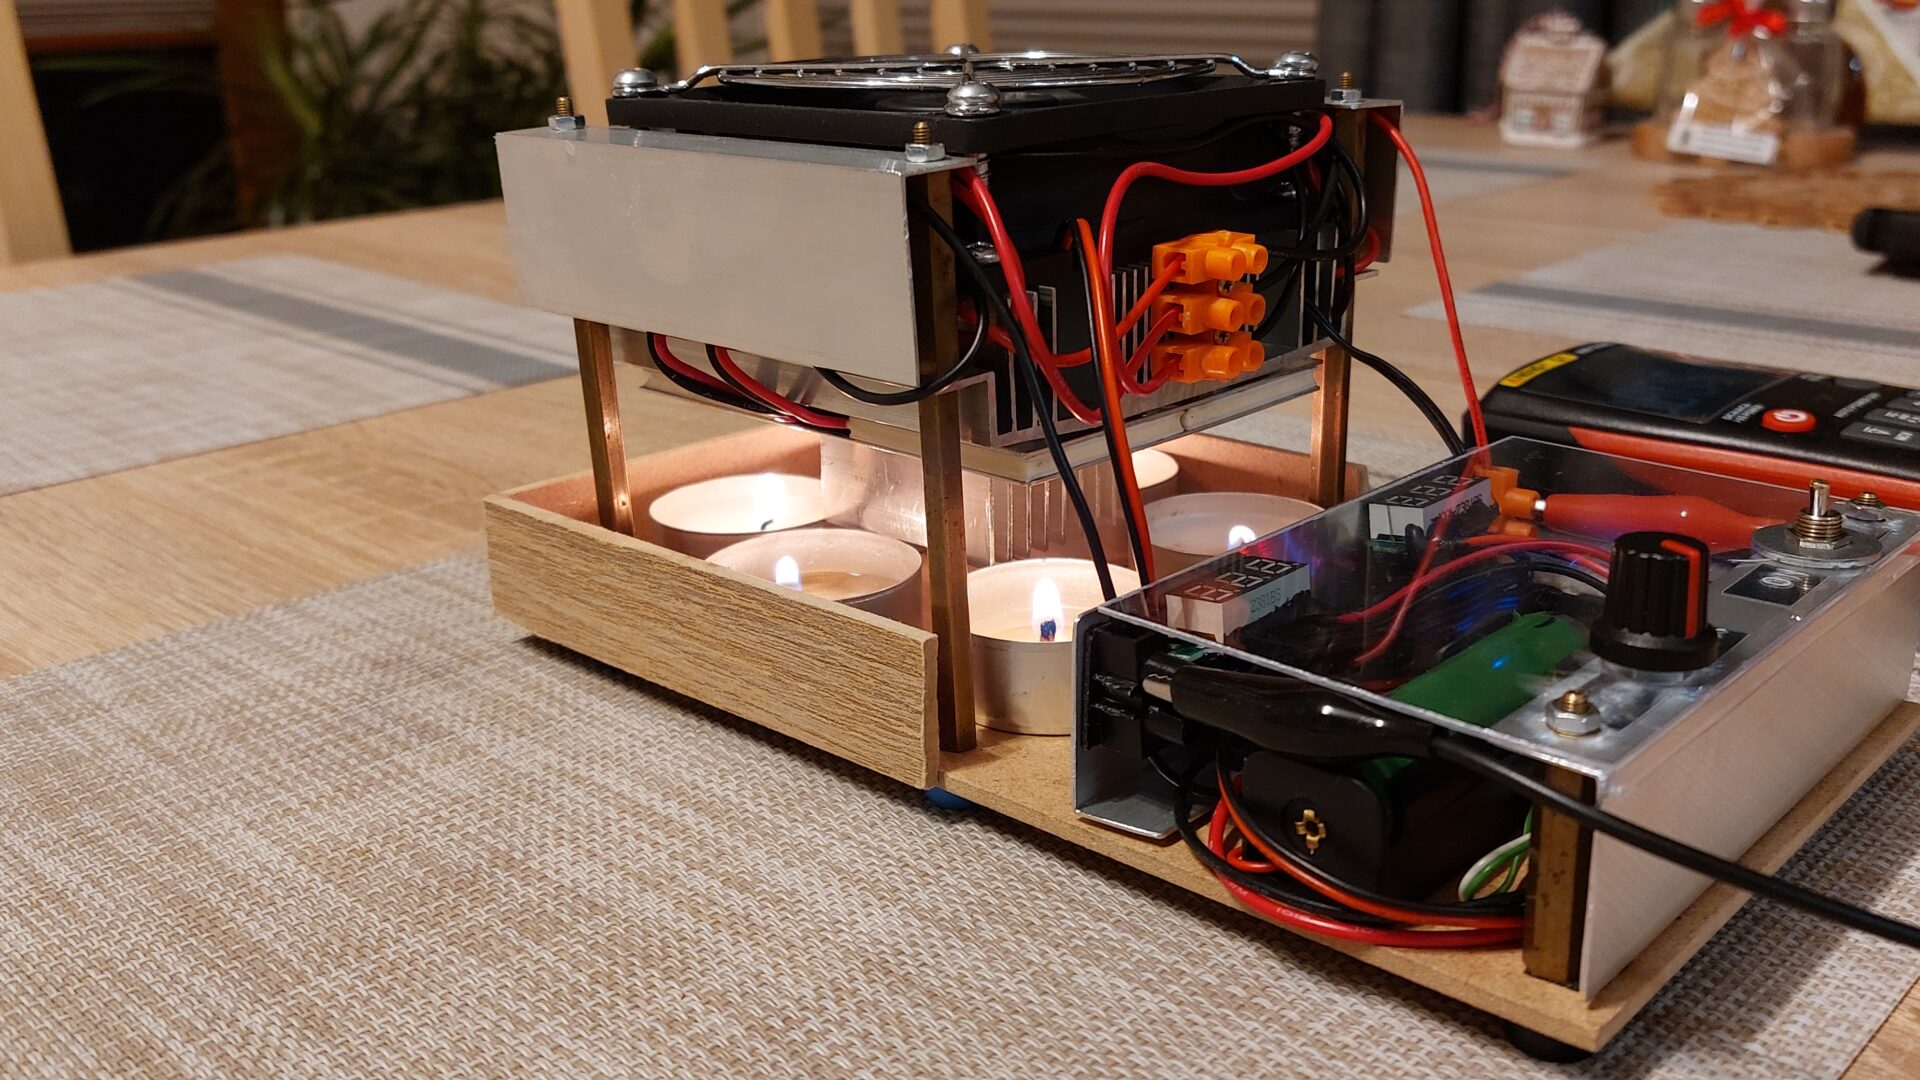
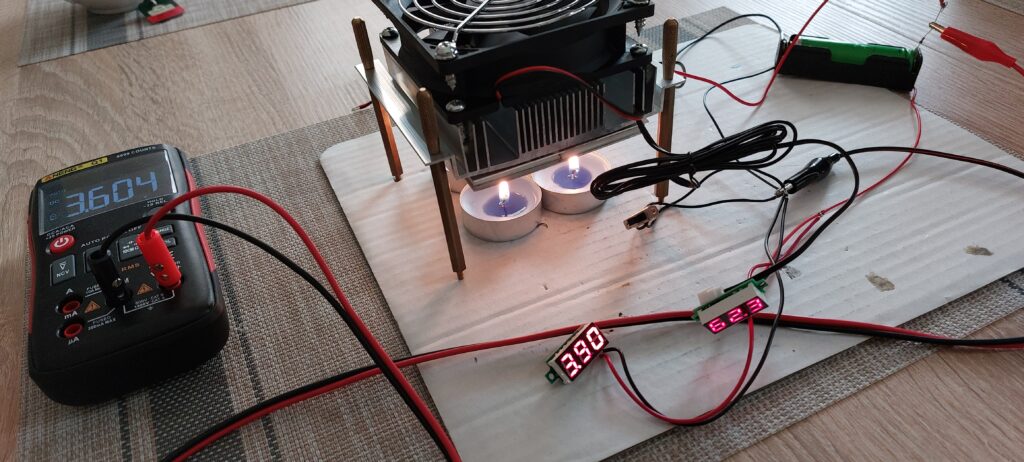
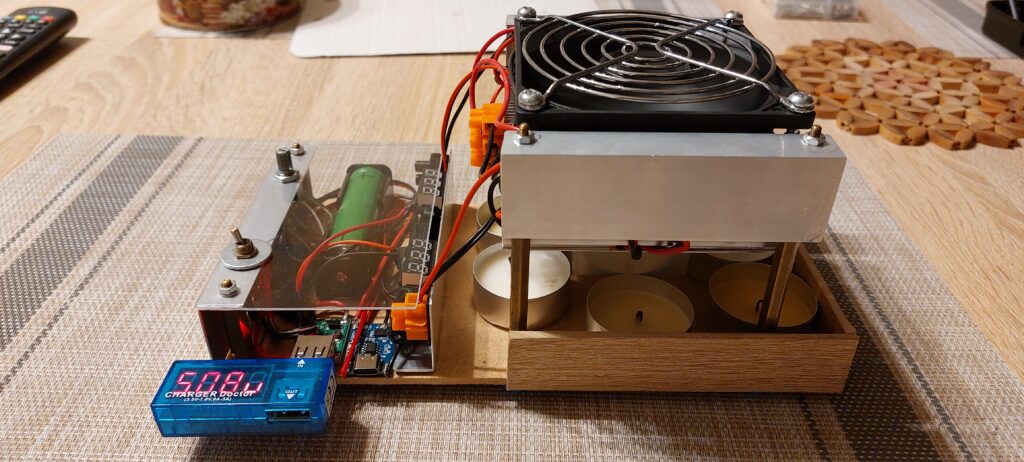
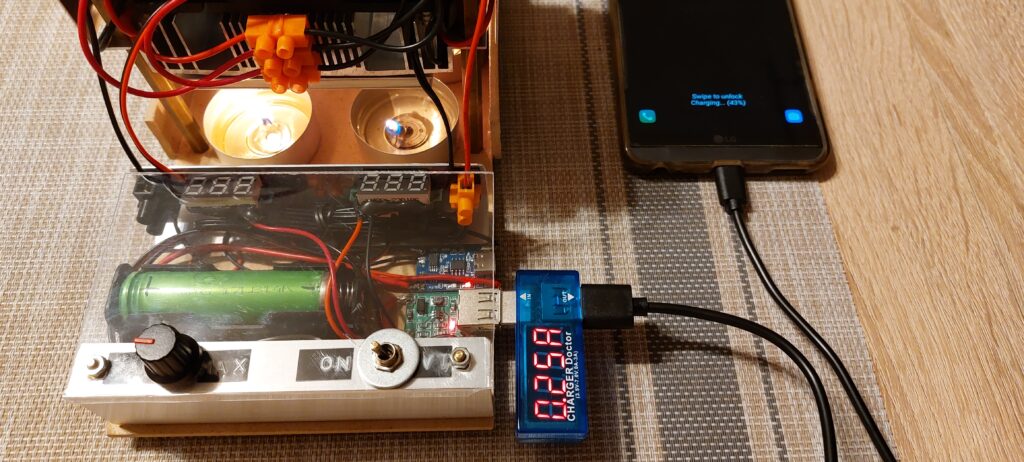
Here is the second version. Works on 6 Tealights and 4 Peltier TEG modules. Generates 3.8V, powering Li-ion 18650 battery charger. Uses Step-up boost converter to 5V from battery to Usb and fan. Has battery voltmeter and radiator thermometer.
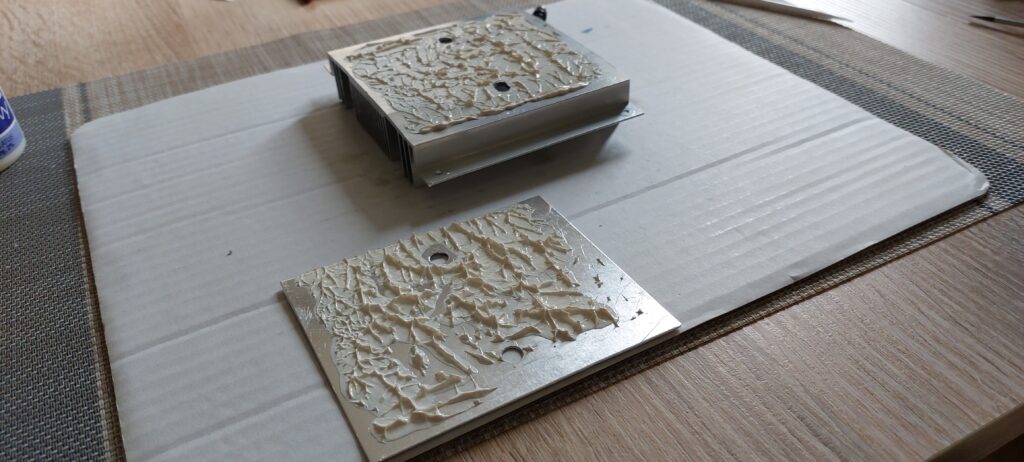
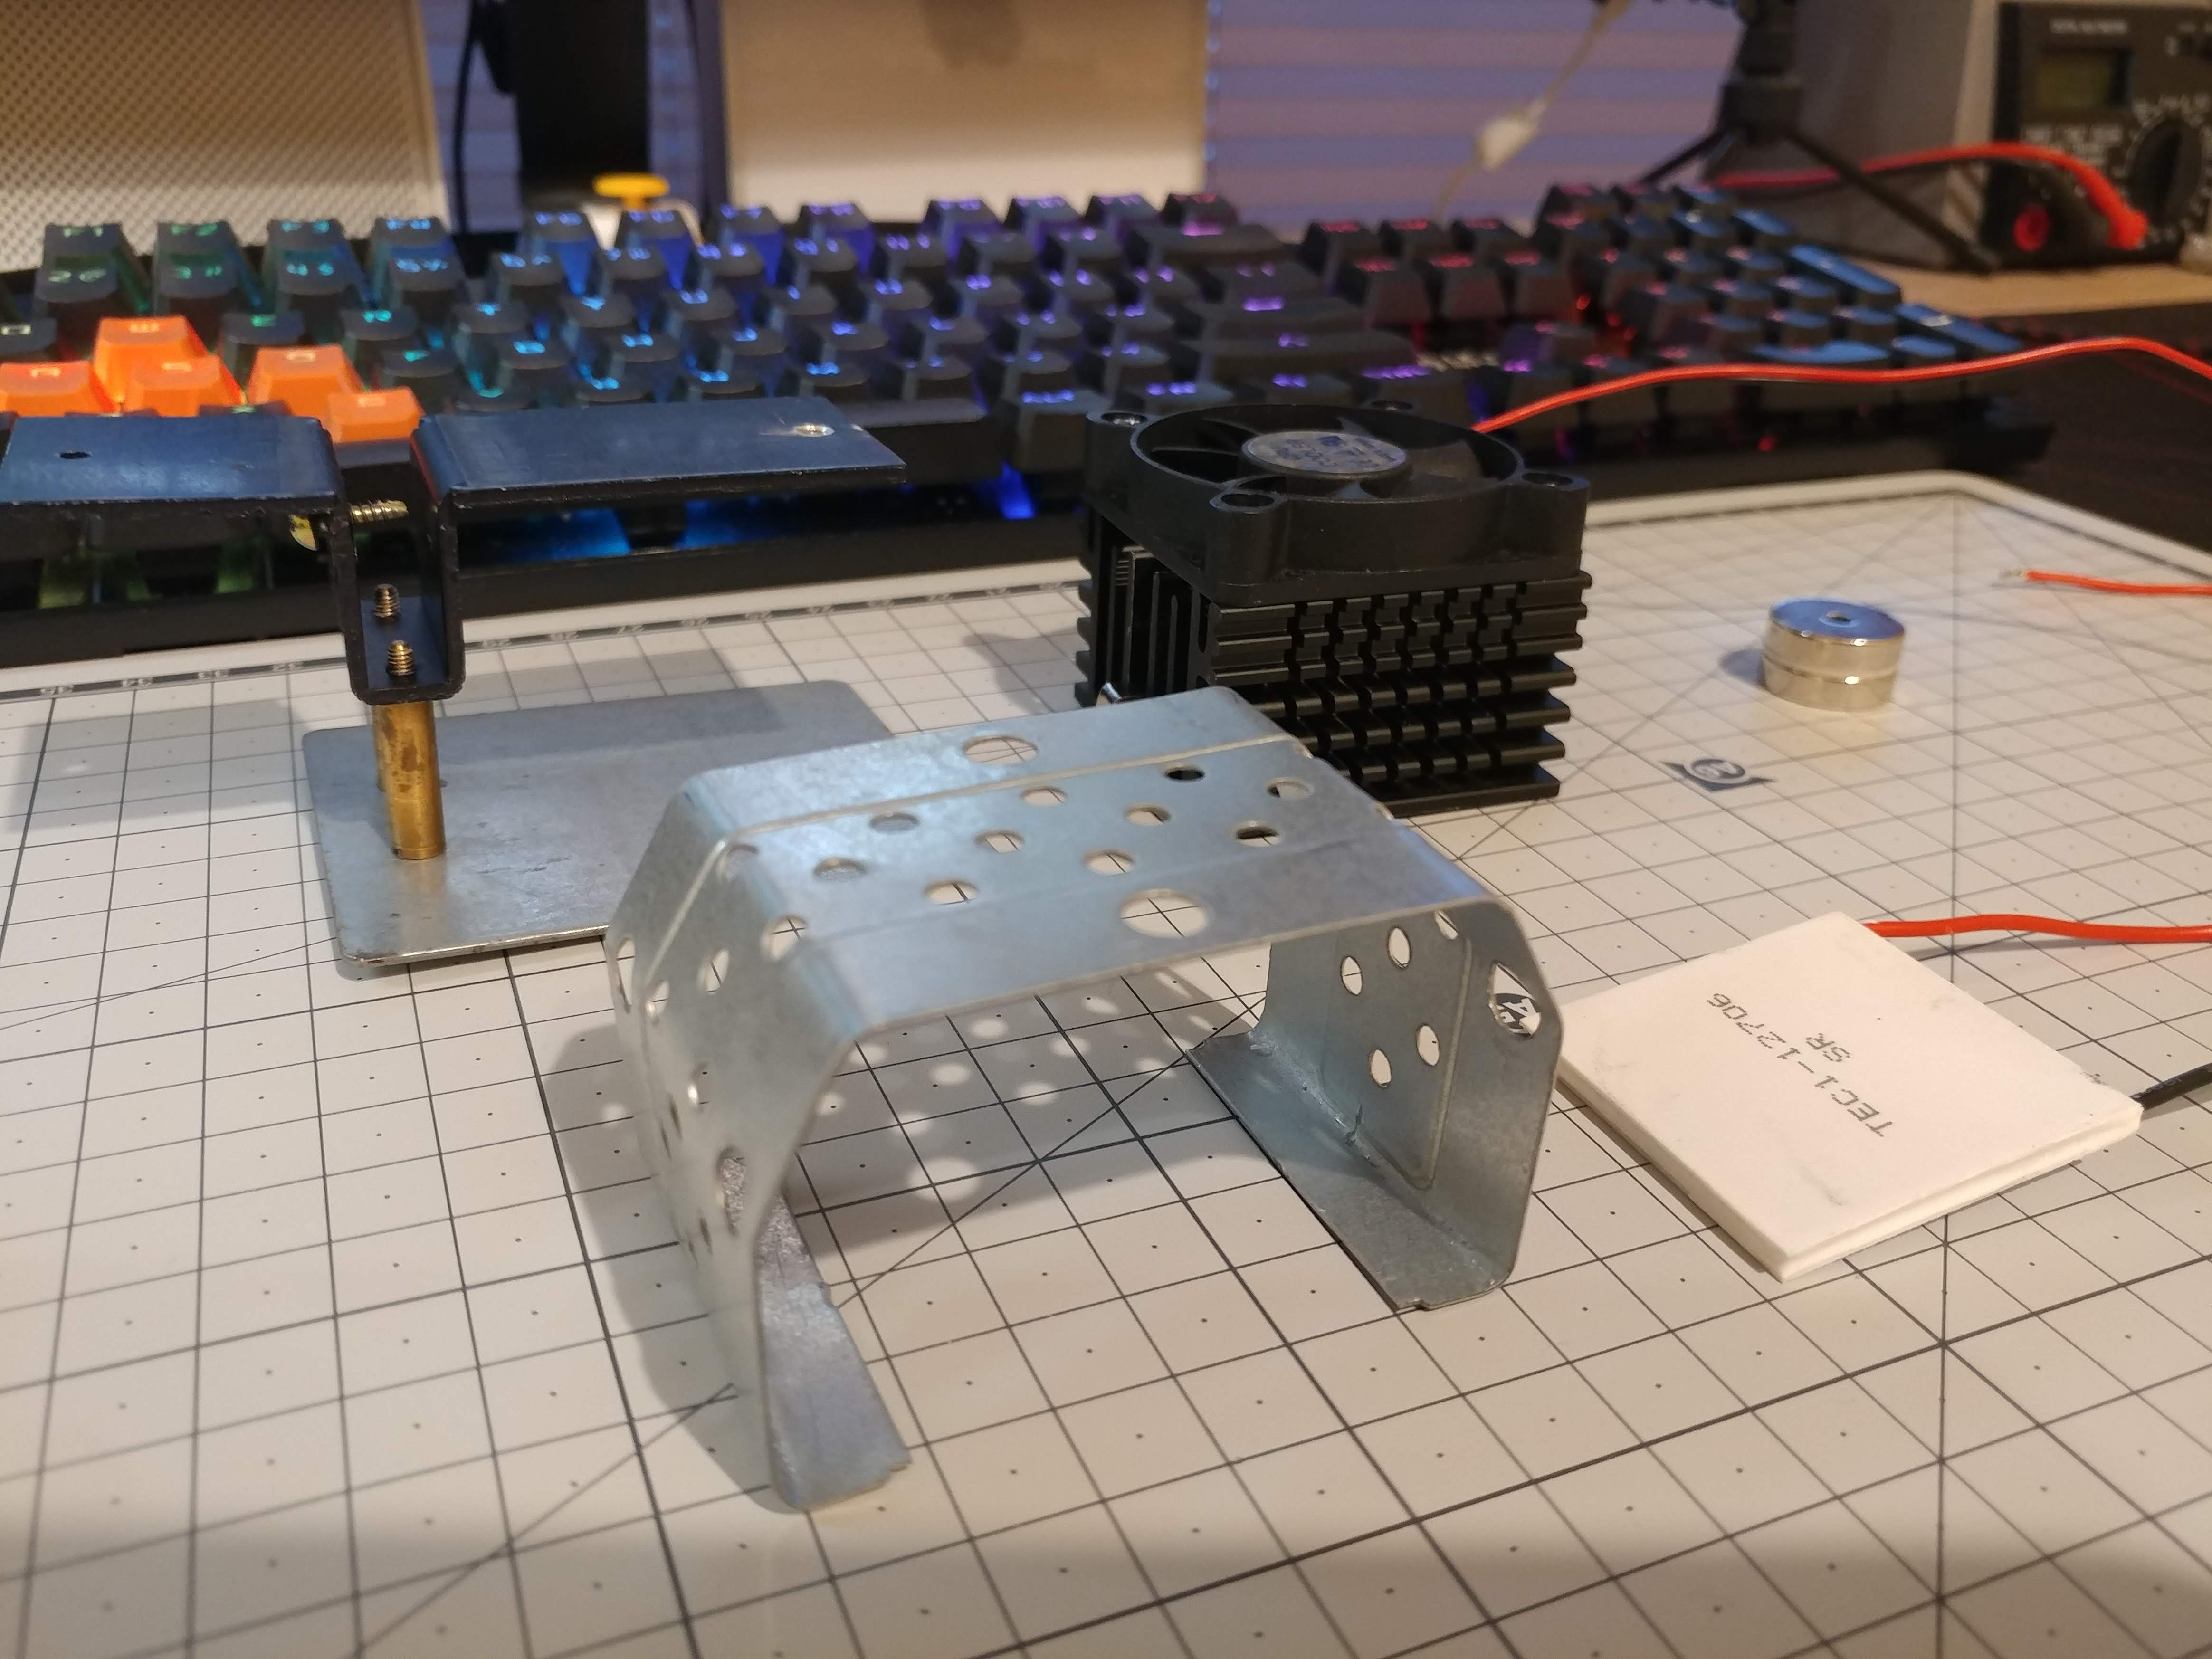
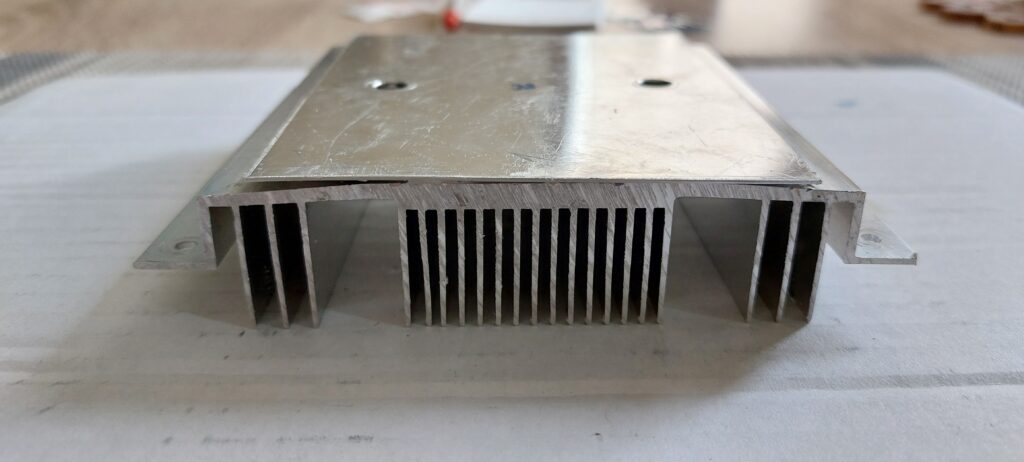
We will use aluminium radiator kit for cooling Peltier TEC modules you can buy ready made. We will need some aluminium panel also. Use thermal glue to attach aluminium panel to create flat cooling side.
We will use 4 Peltier TEG modules, TEG is better for generating voltage than TEC. TEC’s are used to generate cold from voltage.
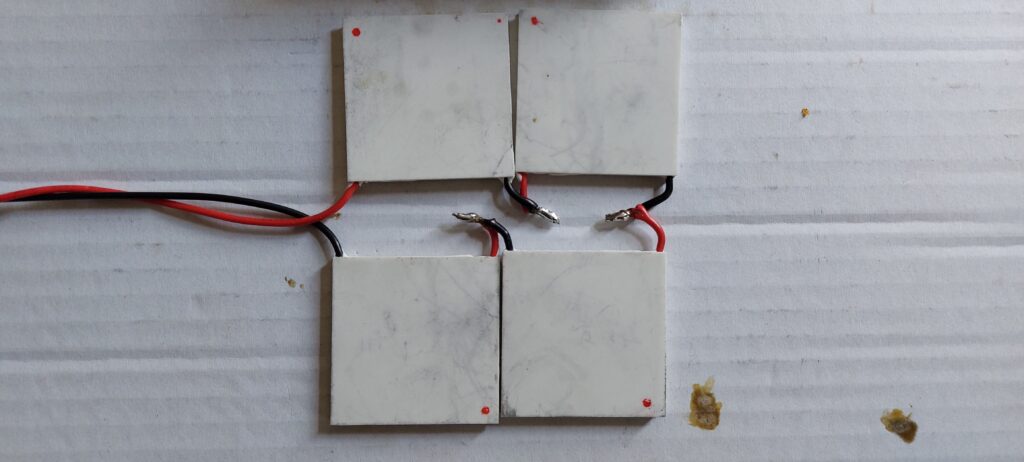
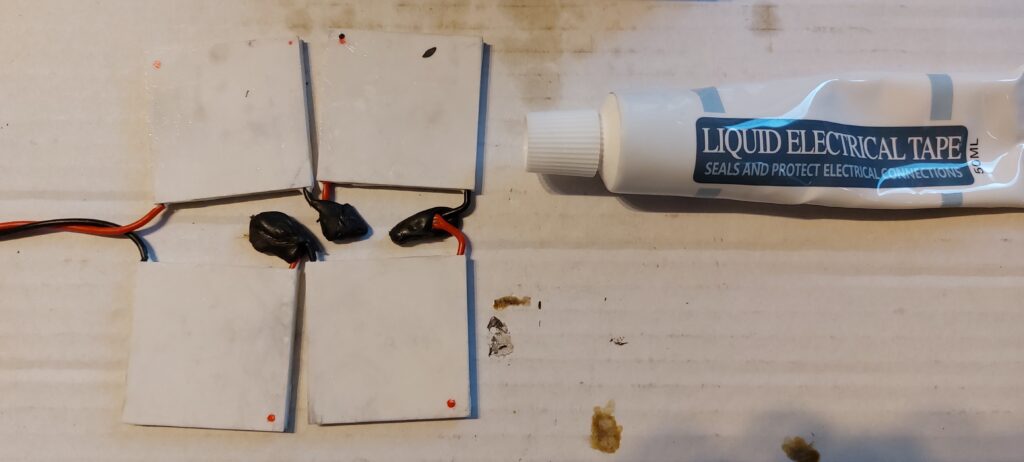
Connect Peltier modules in series. Use liquid electrical tape to isolate connections.
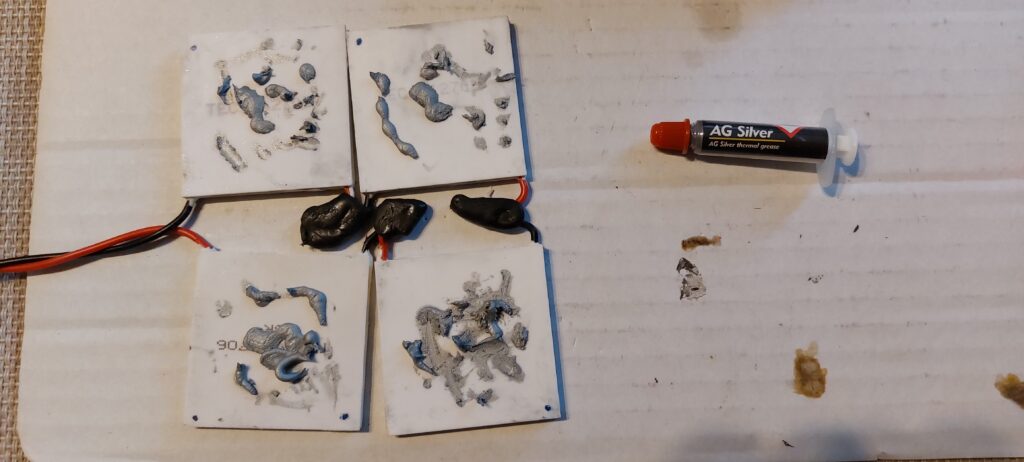
Use thermal paste to attach to radiator, remember cold side of Peltier module is the one with printed label!
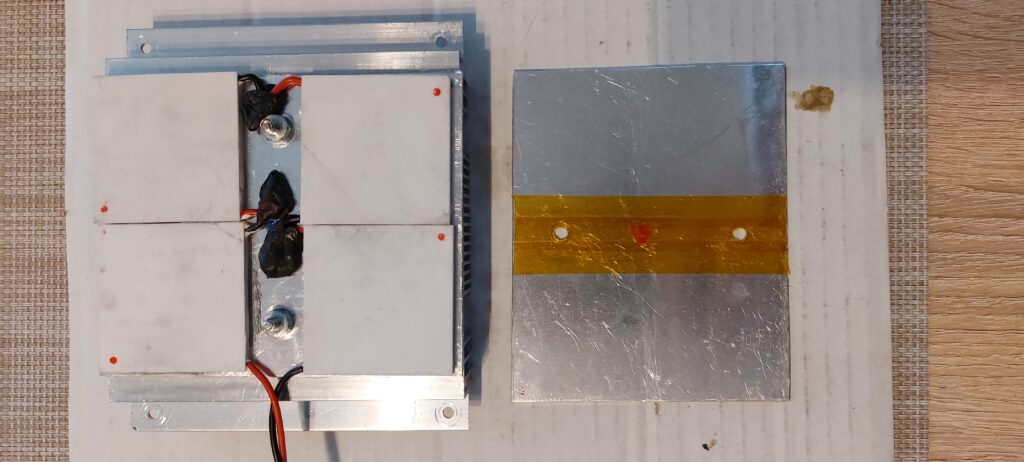
I added some Kapton tape to isolate connections. Attach another aluminium panel as hot side.
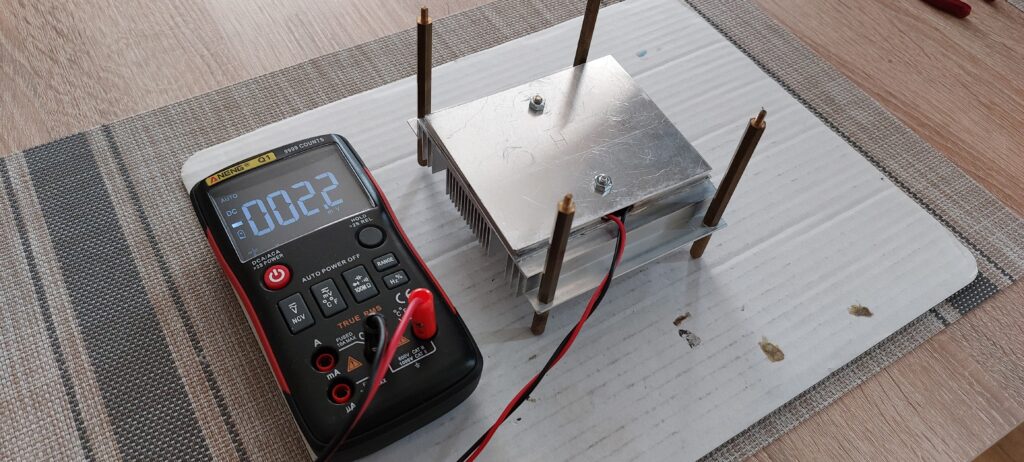
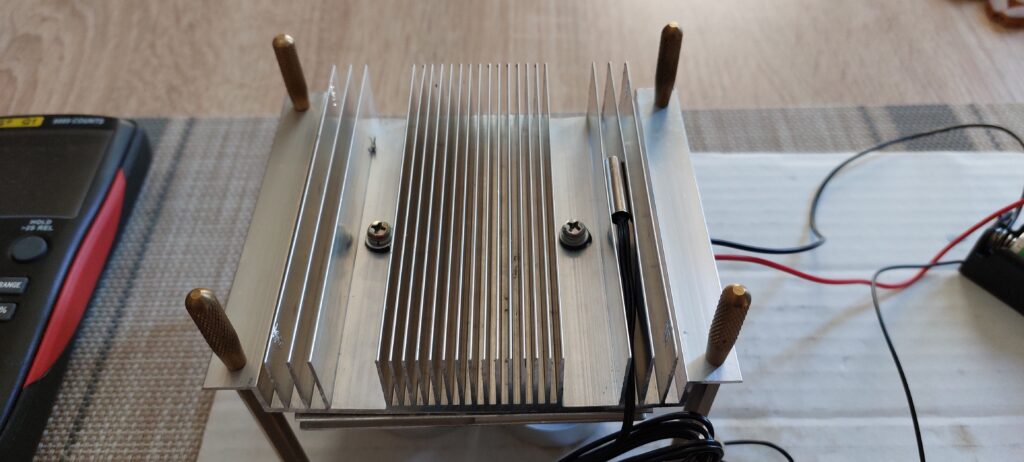
I added thermometer probe to radiator between fins. Remember this is a cold side, so wee need to monitor this to not overheat. To regulate this temperature we need to attach a 12V fan.
We need some power source we can charge with modules because there will be not enough current to power fan and charge a phone for example with just Peltier. Also we need voltmeter to monitor our battery.
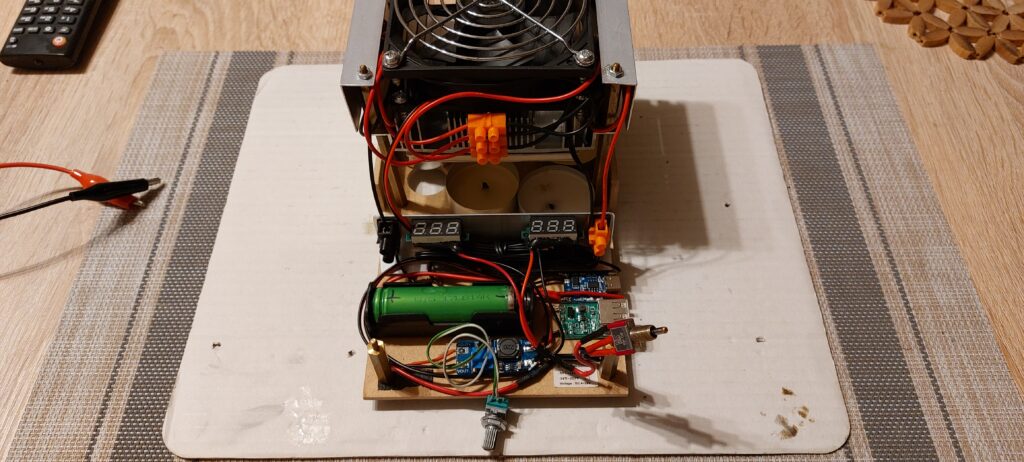
This is a simple circuit. TEG > battery charger > 18650 Li-ion cell > boost step-up 5V > USB.
I used another step-up converter with a potentiometer to regulate a fan speed with voltage from Li-ion cell.
I used 3 pole switch to redirect power from cell to a voltmeter and thermometer on one side. When flipped it will redirect power to USB and fan boost converters. It also has off position in the middle so you can turn off cell power completely. Battery cell will be charged on all switch positions when Peltier modules are heated.
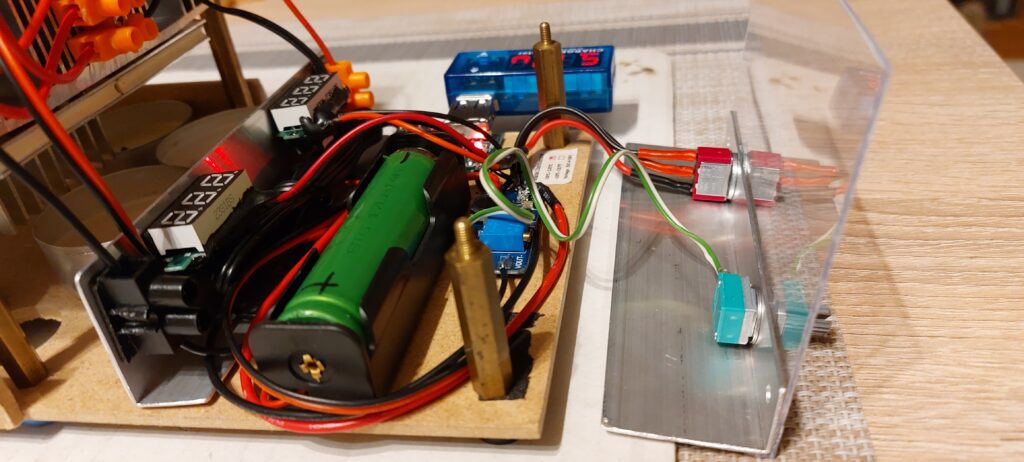
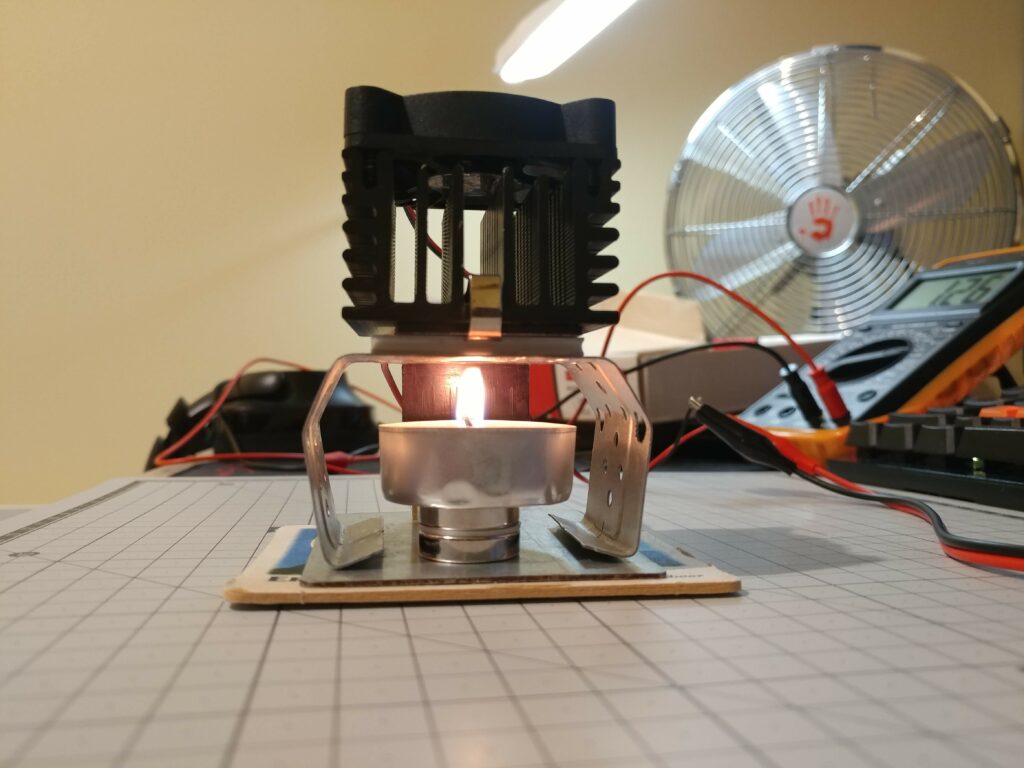
I used some aluminium L shaped profile to create more cooling space and to cover wires and battery cell.
As a base and side covers I used MDF panel. To cover battery cell and modules I used some leftover transparent case.
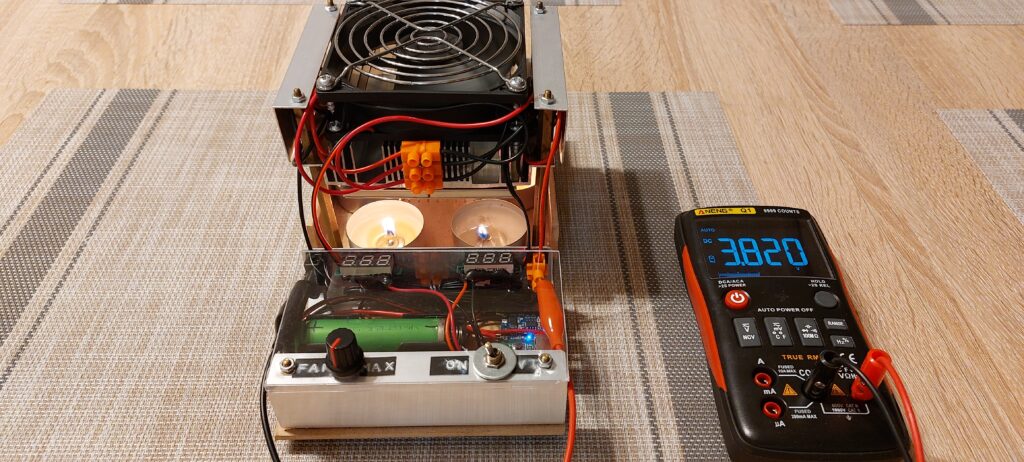
Now you can monitor cold side temperature and cell voltage. And adjust fan speed to regulate cold side temperature. I soldered some 100k Ohm potentiometer to the leads of the potentiometer on the module.
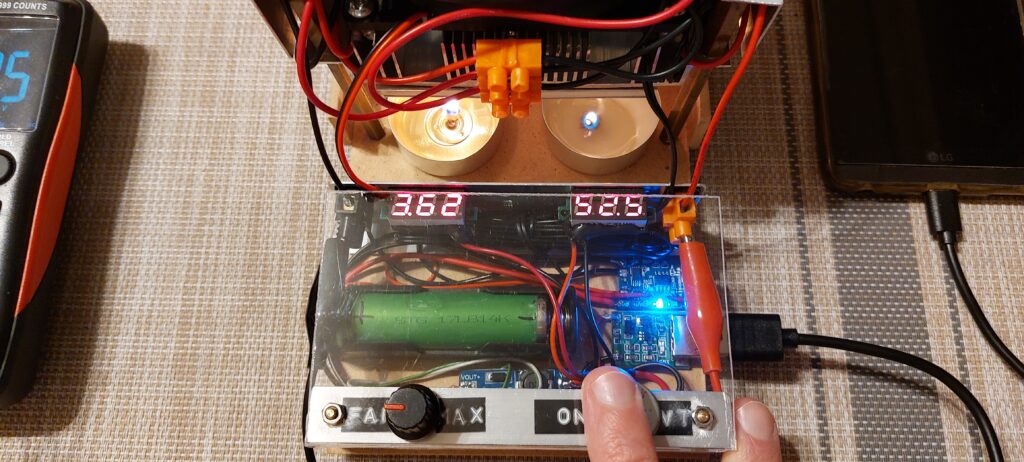
This could be tricky because we can use different candles which can generate more or less heat. We need to remember to not overheat Peltier modules because they can break! I’m using six Tealights which generate around 50°C on the cool side on the lowest fan speed. Which give us 3.8V enough to charge battery cell.
Here are the parts used: